Commercial Print Preflight: Bleed, Fonts, Links, Color, PDF Proof
Commercial print preflight is the controlled comparison between a printer’s written production specification, the native design file, and the exact PDF proposed for output. It.


Commercial print preflight is the controlled comparison between a printer’s written production specification, the native design file, and the exact PDF proposed for output. It verifies page size, trim, bleed, page sequence, fonts, links, image quality, color spaces, spot colors, overprint, transparency, export standard, marks, and packaging. A layout is not print-ready because it looks correct on one monitor. The approved deliverable must be reproducible, traceable, and accepted by the print provider or accountable production owner.
Work from a duplicate of the maintained source in an approved project folder. Record job name, client or internal owner, quantity, finished size, stock, sides, binding or folding, finishing, printer, due date, source application version, required PDF preset or standard, color profile, bleed, marks, and proof route. Do not place customer addresses, confidential campaign data, unlicensed fonts, personal contact details, or production credentials in public prompts, screenshots, sample packages, or general chat channels.
Obtain The Printer Specification
Ask the print provider for written requirements before changing the file. Confirm finished size, orientation, page count, single pages or spreads, bleed, safe area, marks, color model, ICC output condition, spot colors, total ink limits, transparency support, PDF standard, naming, transfer method, and proof process.
Do not assume that a familiar preset suits every press, stock, binding, or finishing process. Record unanswered questions as blockers. A verbal use the usual settings instruction is not a production specification when trim, color, or finishing risk is material.
Create A Job Record
Assign a stable job ID and version. Link the approved brief, printer specification, source file, preflight profile, packaged assets, exported PDF, proof comments, approver, and delivery acknowledgement. Keep superseded versions read-only.
Use filenames that identify job, size or edition where needed, language, version, and status without words such as final-final. The print provider should be able to identify the exact file without opening several near-duplicates.
Preserve The Maintained Source
Duplicate the maintained source before production changes and keep its linked folder structure intact. Record the application and version used. Avoid opening the only copy in a newer version when conversion may change text flow, effects, or compatibility.
Package and archive only fonts and assets that licensing permits. A package is a production convenience, not permission to redistribute software, stock images, client materials, or font files.
Confirm Page Geometry
Compare document page size with the finished trim size in the printer specification. Check orientation, facing-page settings, folds, panels, spine, covers, inserts, tabs, and dielines. Verify whether the provider expects single pages or imposed spreads.
Do not add imposition unless the printer requests it. Commercial workflows commonly impose pages downstream. Designer-created spreads can duplicate that work, disrupt page order, or place marks in the wrong location.
Verify Bleed And Safe Area
Extend every background, image, and shape intended to reach the trimmed edge through the required bleed on all applicable sides. Keep essential text, logos, rules, and small details inside the approved safe area, accounting for fold, binding, and finishing tolerances.
Adobe explains that bleed protects against visible gaps caused by cutting variation. The frequently used 3 mm or 0.125 inch value is only a convention; the actual provider’s written requirement controls this job.
Inspect Dielines And Finishing
Place cut, fold, score, perforation, foil, varnish, emboss, white ink, and spot-finish instructions on clearly named nonprinting or dedicated spot-color layers according to provider requirements. Confirm their color names, overprint behavior, stroke, and separation.
Never leave production guides mixed with printable artwork by accident. Export a separation or layer proof that lets the provider verify the finishing plate independently from the process artwork.
Resolve Missing Fonts
Use the application’s font report to identify missing, substituted, synthetic, or disallowed fonts. Verify family, style, variable-font instance, OpenType features, language glyphs, and licensing. Reflow can occur even when a substitute looks similar.
Do not outline all text as a default repair. Outlining can reduce editability, accessibility, hinting, searchability, and file efficiency. Follow the printer’s workflow and preserve an editable source with licensed fonts.
Check Overset And Text Flow
Search every story, table, footnote, caption, master item, hidden layer, and threaded frame for overset text. Review line breaks, widows, orphans, hyphenation, tracking, baseline alignment, and text near folds or trim after fonts are resolved.
Run a final spelling and factual review on the exported proof, not only the source. A corrected source that was not re-exported does not protect the PDF delivered to the printer.
Update Linked Graphics
Inspect the Links panel for missing, modified, embedded, cloud-only, or wrong-version assets. Relink to approved local production files and confirm that crops, clipping paths, alpha channels, layer visibility, and transformations remain intentional.
Adobe’s packaging guidance includes linked graphics because screen previews may hide a missing high-resolution source. Open important assets independently and verify their color mode, dimensions, and rights record.
Evaluate Effective Resolution
Check effective resolution at the placed scale rather than the source file’s headline dimensions. Enlarging an image lowers effective pixels per inch; reducing it raises them. Use the printer’s requirement for photographic, line-art, and large-format material.
Do not treat one number as universal. Viewing distance, screening, stock, process, and image type matter. Flag assets below the written requirement and obtain an approved replacement or documented exception.
Review Image Quality
Inspect images at useful zoom for compression artifacts, halos, sharpening, noise, banding, clipping, unintended transparency, and poor masks. Confirm that essential detail survives the final physical size and printing process.
Do not invent missing resolution with aggressive enlargement and call it restored detail. If replacement is unavailable, show the limitation in the proof and obtain an accountable decision before output.
Audit Color Spaces
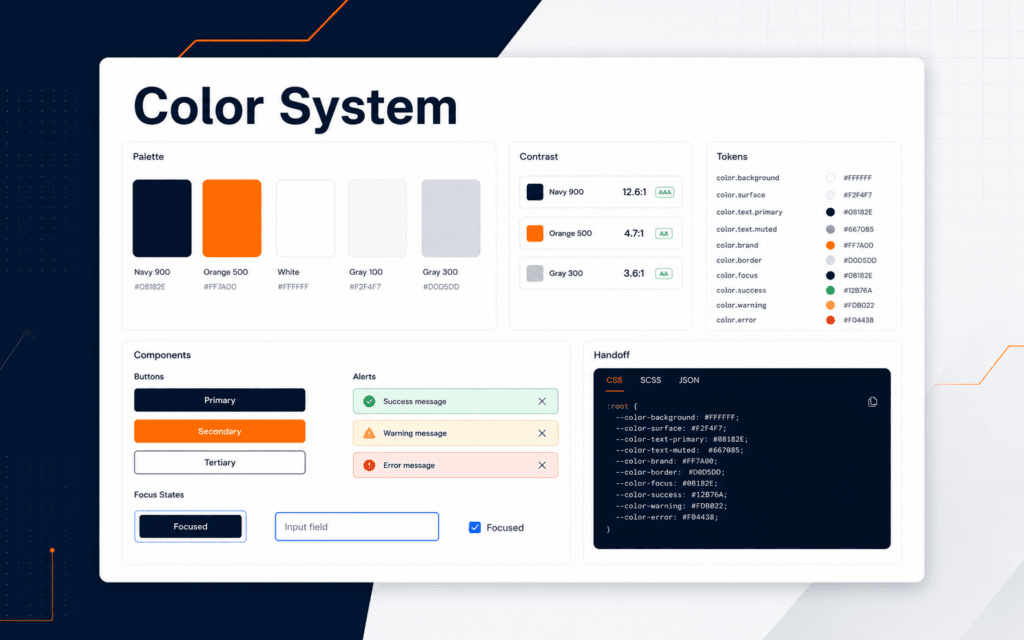
Inventory RGB, CMYK, grayscale, Lab, device colors, and spot colors. Compare each item with the printer’s requested workflow. Confirm the document’s assigned profiles, conversion destination, rendering intent, and profile-inclusion policy.
Do not convert colors repeatedly or strip profiles without a documented reason. Adobe’s PDF output options distinguish preserving data, converting to a destination, and embedding profiles; the provider’s output condition should guide the choice.
Inspect Spot Colors And Inks
Open the separation or ink preview and identify every process plate and named spot color. Merge accidental duplicate spot names only after confirming they represent the same ink. Check white ink and finishing plates against substrate and provider rules.
A visually identical swatch name can produce an extra plate. Record the expected separations and reject unexpected inks before export, especially when cost or finishing depends on plate count.
Check Rich Black And Small Type
Apply the provider’s black rules consistently. Small body text and fine rules often require a single black plate for registration stability, while large areas may use an approved rich-black recipe. Confirm total ink coverage.
Do not copy a rich-black formula from another printer or stock. Review reversed small text, thin lines, and overprinting black in separation preview because screen appearance can hide registration and knockout problems.
Review Overprint
Inspect objects set to overprint fill or stroke and preview separations. Confirm intentional behavior for black text, spot-color dielines, traps, and finishing elements. Remove accidental overprint that would make light objects disappear or combine colors unexpectedly.
Overprint Preview is a diagnostic approximation, not a physical proof. Preserve the relevant separation evidence and ask the provider when the intended interaction between inks is unclear.
Handle Transparency And Effects
Identify shadows, blending modes, opacity, masks, placed PDFs, and effects that depend on transparency. Match the export standard and compatibility requested by the printer. Where flattening is required, inspect stitching, rasterization, and text interactions.
Do not flatten early merely to simplify the file. Keep editable transparency in the source and test the exported PDF with the appropriate viewer and output preview.
Embed A Preflight Profile
Configure a job-specific preflight profile for page size, bleed, missing or modified links, fonts, overset text, image resolution, color spaces, spot colors, transparency, and other written requirements. Embed or archive the exact profile with the job.
Adobe’s live Preflight can monitor configured problems while the document changes. A green Basic profile does not prove a specialized commercial job meets its provider’s requirements. Record the profile name and version in the report.
Run Native-File Preflight
Run the profile across all pages, hidden or nonprinting content where relevant, parent pages, pasteboard items, and book documents. Resolve every error or document a named exception with evidence and owner.
Save, close, reopen, and rerun critical checks after relinking and font changes. This exposes dependencies that were available only through temporary caches or a designer’s workstation.
Export The Requested PDF
Use the printer’s supplied preset or reproduce its documented settings. Confirm PDF/X standard, compatibility, page range, single pages or spreads, compression, marks, bleed, output conversion, destination profile, font embedding, transparency, and security.
Adobe’s export options separate these controls because each affects output. Do not add all printer marks automatically; include only marks and offsets requested by the provider, and keep marks outside the bleed region.
Preflight The Exported PDF
Open the exported PDF as a new artifact. Verify page count, dimensions including bleed, boxes, fonts, image resolution, output intent, color spaces, spot plates, overprint, transparency, marks, and metadata using an approved PDF preflight tool.
The PDF can differ from the source because of export, conversion, flattening, or a stale preset. Native-file preflight and PDF preflight are separate gates and both need evidence.
Run A Visual Proof
Review every page at fit-page and high zoom. Check trim edges, folds, page order, text, images, crops, gradients, small type, fine rules, barcodes or codes, and finishing overlays. Print a reduced or actual-size office proof only for layout and content checks it can support.
An office printer cannot validate press color, stock, coating, trapping, or finishing. Label what the proof demonstrates and what still requires a contract proof, press proof, or provider confirmation.
Package Source And Assets
After preflight, use the application’s package workflow to gather the source, permitted fonts, linked graphics, report, optional interchange file, and the verified print PDF. Inspect the package on a separate machine or clean environment where possible.
Adobe recommends resolving preflight issues before packaging. Open the packaged source and confirm its links resolve inside the package rather than back to the designer’s workstation or cloud cache.
Hash And Approve The Deliverable
Calculate and record a file hash for the exact PDF sent to production. Store page count, size, preset, output intent, proof decision, approver, approval time, printer destination, and transfer acknowledgement. Any later edit creates a new version and approval.
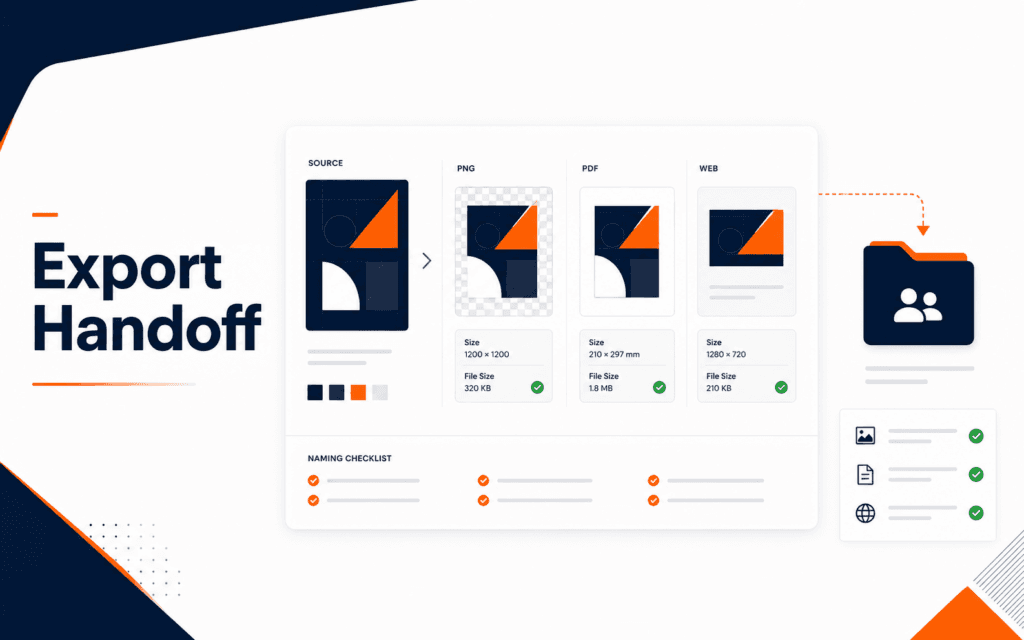
Use the broader graphic design export settings guide for format choices, while this preflight remains specific to commercial print evidence. A Graphic Design course can provide guided layout and production practice.
Transfer And Confirm
Send the approved package through the authorized transfer route. Confirm upload completion, filename, byte size or hash where supported, recipient, and whether the provider’s intake preflight accepted the file. Do not email sensitive source packages through an unapproved channel.
If the printer reports a problem, preserve the rejected artifact and intake message. Correct the source, rerun both preflight gates and proof, create a new hash, and obtain approval again instead of silently replacing the file.
For technology learners based in Gujrat, Punjab, Pakistan, the practical approach in this article shows one kind of evidence worth building through the Graphic Design. The focus should remain on defensible decisions and finished work rather than attendance or software familiarity.
FAQ
Is a PDF/X preset enough to make a file print-ready?
No. The source and exported PDF must also match the printer’s job-specific size, bleed, color, font, image, finishing, and proof requirements.
Should designers always include crop marks?
No. Include only the marks and offsets requested by the print provider. Many workflows add marks during downstream imposition.
Why preflight both the source and PDF?
The source reveals layout dependencies, while export can change fonts, images, color, transparency, boxes, and page output. Each artifact needs its own verification.
Want to Build Practical Technology Skills?
Explore RisingEdge courses designed to help students learn real skills, build projects, and prepare for career opportunities.